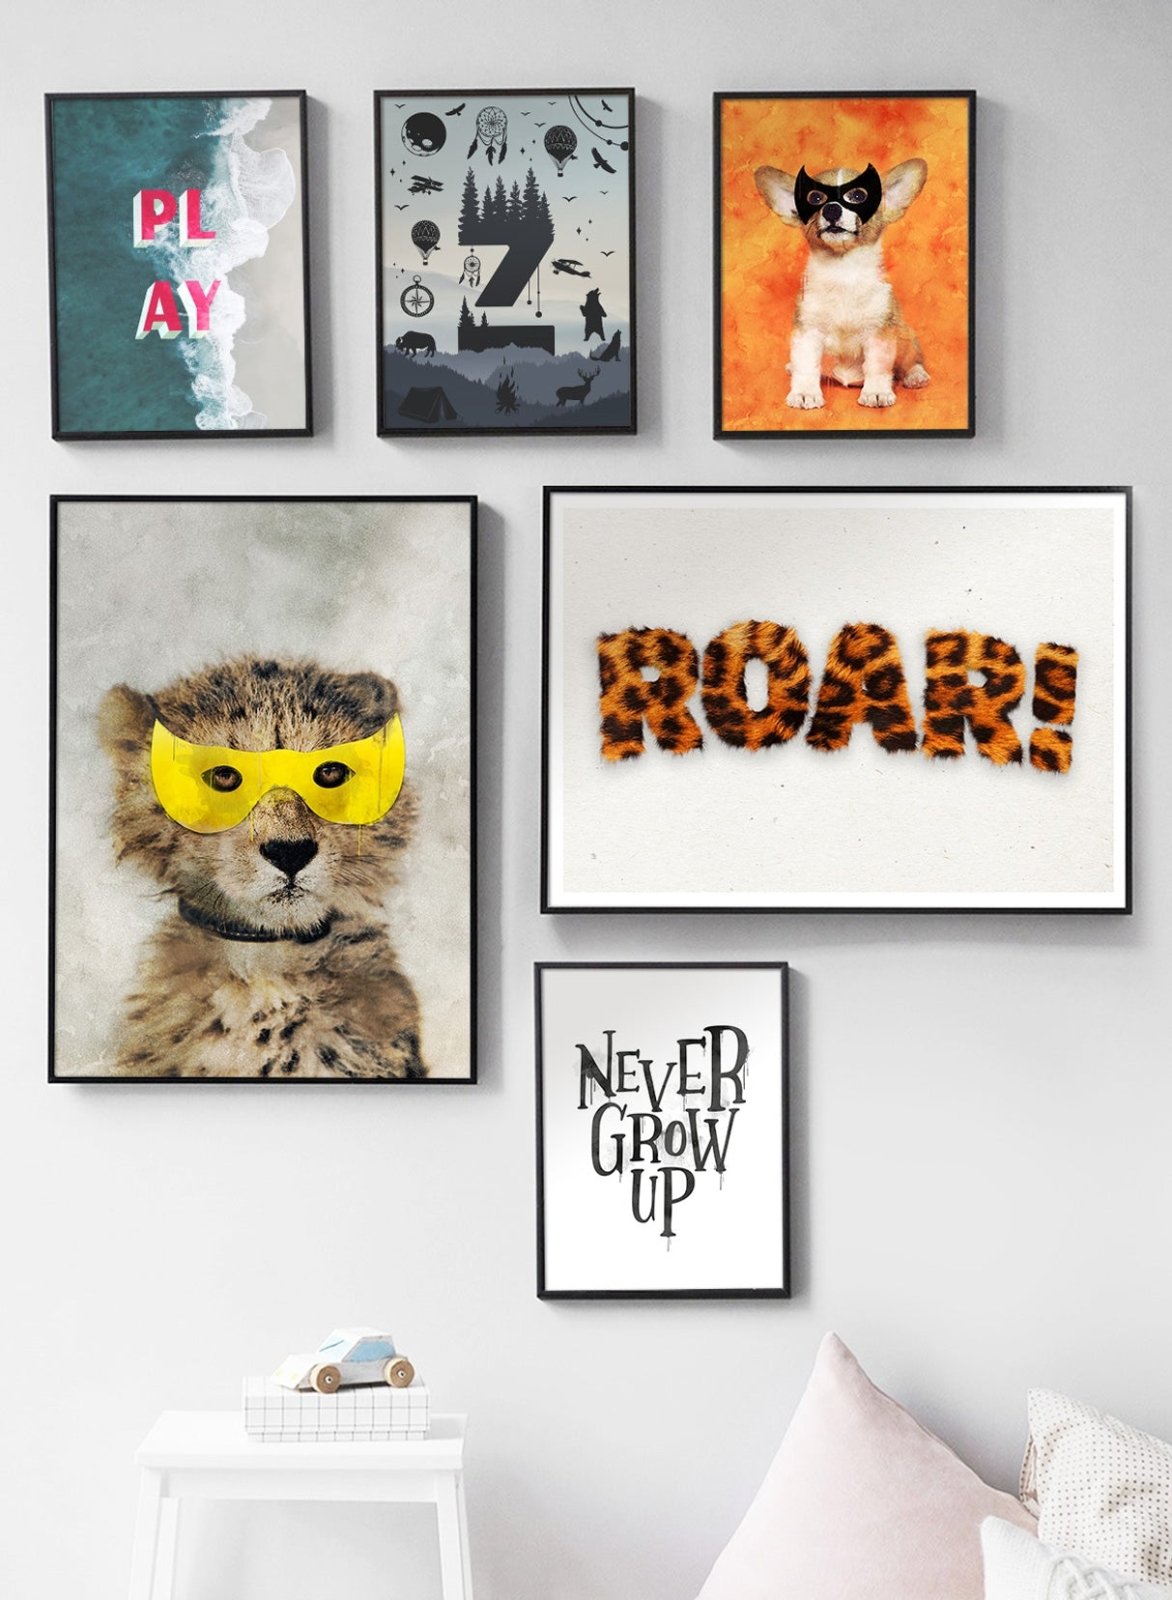
4 steps to create the perfect gallery wall

Over the last five years or so, gallery walls in the home have increased in popularity. Here at Ink & Drop, we think a gallery wall is one of the best and most affordable ways to introduce personality into your home.

They suit almost every room in the house, and provide a focal point that can be easily updated, but the tricky part can be getting started. So, to help you with the creation of your first feature wall, here are our 4 steps to create the perfect gallery wall…
1 - Sketch your layout
Many blogs will tell you to pick your art first, but we recommend measuring up and getting an idea of what you’re looking for, before you pick your prints. That way, you’ll already have a good idea of what styles and sizes you’re looking for and can choose pieces that will compliment your existing decor.
Our Instagram Page is a good place to start, and good old pen and paper is your friend here, too. You can also use paper cut outs to help you visualise the finished result.
Sketch out your layout roughly before you do anything else and then proceed to step 2!

2 - Select your art prints & frames
Now, the fun part!
There’s a gallery wall to suit every taste and every room, so whether you’re partial to classic photography or like to add a bit of vintage chic with botanical art prints, you can create a wall to be proud of.
We recommend sticking with a theme from the start, keeping art prints along similar lines, but introducing quirky frames and mounts in different materials, colours and finishes to mix things up a little and add that ‘curated over time’ feel.
Ink and Drop art prints are designed to fit affordable frames from IKEA (and many other retailers!), and with everything from monochrome to vintage gold available, you can mix and match to your heart’s content to create a gallery wall that’s completely unique.
3 - Select sizes for each print
If you have followed step 1 as we recommend, you’ll already have a good idea of what size prints you’ll be seeking. Many customers order smaller prints than they actually need, underestimating the size of their wall.
We recommend an array of different sizes to build a unique gallery wall and luckily our prints are all available in varying sizes, starting at 21x30cm, all the way up to a super-sized 70x100cm. If you’re looking to stick tightly to one style or theme, however, consistency across sizes can also look really cool.

4 - Make your gallery a reality!
First thing’s first, it’s time to frame your prints and do a test run on the floor. This will ensure your composition is balanced and you’re prepared for where each art print will live. Remember, a gallery wall doesn’t always require nails and a hammer, you can make use of shelves or units to add depth, texture and a layered effect to your display.
When you’ve done your rehearsal and are ready to hang your gallery wall, get your spirit level ready and grab some string and Blu Tack. We recommend creating a top and bottom line by measuring with the spirit level and tacking some string to the wall, so you have a guide. That way you’re always going to be hanging your gallery wall straight.
Take a look at our blog post on how to frame and hang art prints for more advice and tips. We will be posting that in the coming weeks!
Finally, a gallery wall deserves to be shared on Instagram and we’d love to see how you’ve styled your Ink and Drop pieces. If you’re in the midst of creating your gallery wall, share the finished display with us by tagging @inkanddrop in your post.
